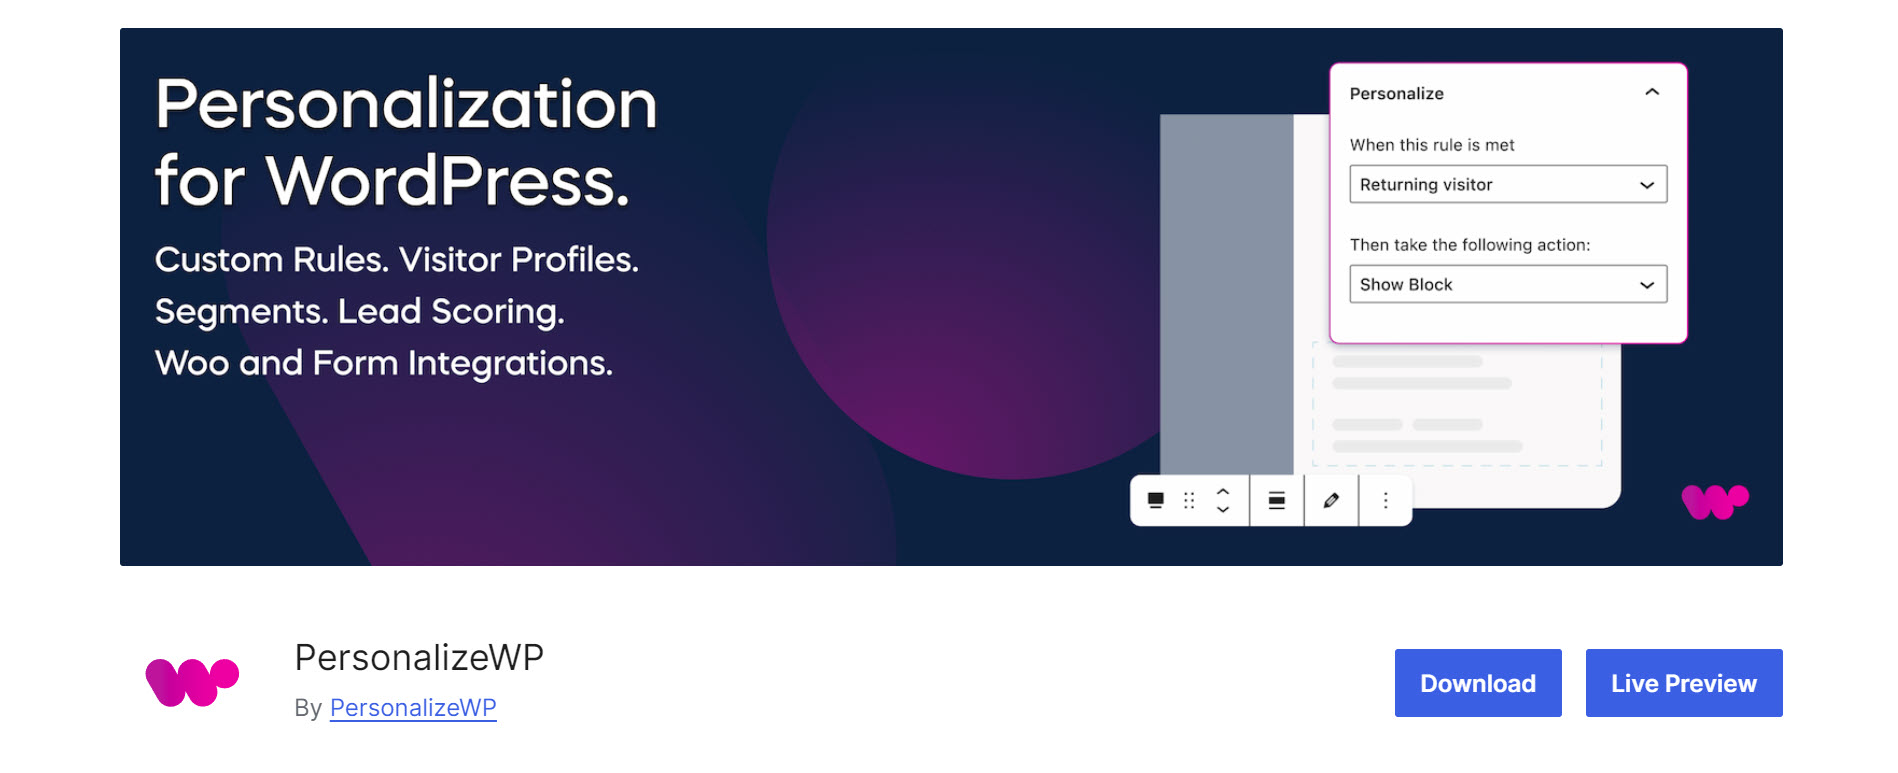
PersonalizeWP is a WordPress plugin that allows you to control who can see a WordPress block and when they can see that block. It works with any block and is great for marketing. It can show personalized sales, offers, custom forms, and more. In this post, we’ll look at PersonalizeWP and see how to use it to show or hide a WordPress block. I’ll use WS Form for my examples.
Install PersonalizeWP
First, install and activate PersonalizeWP by going to Plugins > Add New Plugin. Search for PersonalizeWP, click Install Now, and then Activate.

Next, view the product presentation and set up your plugin.

Integrate PersonalizeWP with WS Form
PersonalizeWP works with any WordPress block. This includes WS Form. It integrates well with any form created with WS Form, allowing you to show or hide the form based on the conditions you choose. This integration is automatic, so you don’t have to do anything but make your selections. Let’s look at those selections and see how they work with WS Form.
First, add a WS Form block to your WordPress post or page.

Next, with the WS Form block selected, choose the form you want to use by selecting it from the Form dropdown box in the sidebar on the right.

You’ll notice a new set of options below this section called Personalize. This was automatically added to the options when you installed PersonalizeWP. Integration with WS Form was instant. This section includes two options under Rules. The first is an IF statement and the second is a THEN statement. Here’s where you can choose and add rules that apply to your WS Form.

Personalize IF Rules
The IF rules specify the type of user you want to target for your WS Form. Selecting the IF dropdown box shows your premade or custom options. Options include the time they’ve spent on the page, the type of device they’re using, whether or not they’re a new or returning visitor, their local time, their location, and whether they’re logged in or not.

You can add as many IF rules as you want. Simply click the plus icon and choose the rule from the list. The IF rules work as an AND statement, so all rules must be met for the action to take place.
Once you’ve added an IF rule, the plus icon turns into a minus icon. Click the minus icon to remove the rule. In this example, I’ve added three IF rules. In this example, the visitor must be on the website for at least 30 seconds, be a new visitor, and be based in the UK. If any of the three conditions are not met, PersonalizeWP will not go forward to the next step, which is to perform an Action.

Personalize THEN Actions
The THEN rules tell WS Form what to do if the IF rules have been met. It’s a basic IF THEN statement. IF this rule is met, THEN perform this action. The THEN actions include showing or hiding the form. You can only include one THEN action because using both would cancel each other. The Show option is the default, which will display the form if the conditions are met.
In this example, if the visitor has been on the website for 30 seconds or more, and they’re a new visitor, and they’re in the UK, the form will display for them. If any of the three conditions is not met, the visitor will not see the form.

Creating a Custom PersonalizeWP
If you need a rule for your WS Form that isn’t built into PersonalizeWP, you can create your own. In the WordPress dashboard, go to Personalize > Personalization and click Create Rule.

This opens the rule editor, where you can create as many rules as you want. Enter the name of your rule and choose the category from the Category dropdown box. Categories include device types, location, other, purchases, time, and user types. For my example, I want the form to show based on the date, so I’ve selected Time for the category.

Next, choose the Conditions. They include the location, their logged-in status, time on the page, new visit, last visit, visit period, visit time, device type, and date. I’ve selected Date so I can have the form display on a specific day.

Next, choose a Comparator. These options will vary based on the Condition you’ve selected. The Comparator options for Date include Before, After, and Is. I’ve selected Is so the form will show on the date I’ll choose.

Finally, choose the Date. This specifies the rule to only display on the date I’ve selected. I can now add a new rule or save this rule by clicking Create rule.

I can now choose the new rule from the dropdown box when I add a form to the content. I’ve selected the new rule and set the action to show the block. Now, my form will only display on the date that I selected when I created the rule.

Ending Thoughts on PersonalizeWP and How it Integrates with WS Form
That’s my look at PersonalizeWP and how it controls the visibility of WordPress blocks based on user rules that you set. integrates with WS Form. It works well with any WordPress block and integrates with the Gutenberg editor automatically. It’s easy to use and I recommend it for showing and hiding your content.
Have you tried PersonalizeWP to control the visibility of your WordPress blocks? Let me know in the comments below.

Leave a Reply