The Divi Builder is a drag-and-drop page-building system that makes it easy to create unique layouts. Whether you’re using premade child themes, premade layouts, or creating your own, it’s crucial to understand how to use the Divi Builder. In this post, we’ll step through using the Divi Builder to help you get started on your website designs.
Note- this article contains affiliate links. Using them helps support this website.
Accessing the Divi Builder
The Divi Builder is available on every page and post and in the Divi Theme Builder. It works the same regardless of where you access it. Accessing it in the Divi Theme Builder takes a few extra steps. I’ll cover that in a future Divi tutorial. I’ll build a page in the examples for this Divi tutorial.
First, create a page (or post) as normal by going to Pages > Add New. Add a title and click Use Divi Builder.

This takes you to the front end with the Divi Builder enabled. Here, you can add sections, rows, and modules. A section can hold multiple rows, which in turn can hold multiple modules. You’ll need all three elements to create Divi layouts. You can also drag them around, resize them, and style them. It includes one section already enabled, which is outlined in blue. Add more sections by clicking the blue plus icon.

Add a Row
To add a row to the Divi Builder layout, click the green icon and select the type of row you want. You have twenty layout options for the row. Each includes a different number of columns in different widths. You can add as many rows as you want, so you can mix and match for the exact page layout you want.

The row is outlined in green. Each column can hold one Divi module horizontally, but you can add as many vertically as you want. Add more rows by clicking the green plus icon.

Add Divi Modules
To add a Divi module to a column, click on the dark gray icon. This opens a modal with all of the Divi modules. Next, search for the module you want by entering a keyword into the search field or scrolling down until you find your module.

To add more modules, simply click the gray icons.

Adjust the Divi Builder Elements
Adjust the sections, rows, and modules by clicking on them. You can drag them from one location to another, open their settings by clicking their gear icons, add padding by dragging the edge, and more.

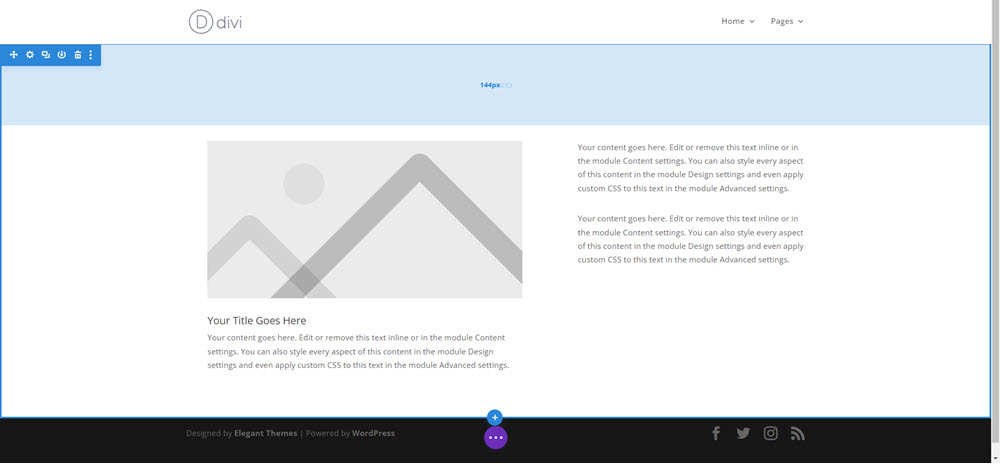
I’ve added padding to the top of the section by grabbing the top and dragging it down.

I’ve adjusted the text by clicking it to open the text settings.

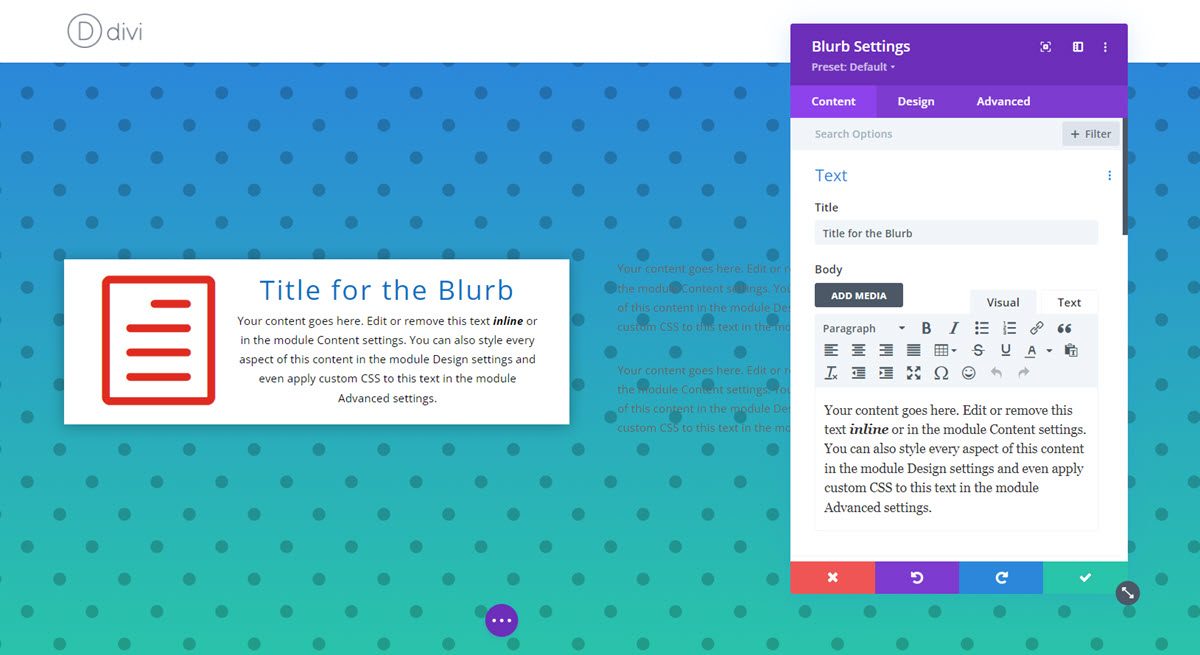
In this example, I’ve opened the blurb module’s settings by clicking its gear icon. Here you can add your content and style the module.

To style the module, click the Design tab and make your adjustments. When you’re done, close the module’s settings by clicking the green checkmark.

Adjust the sections and rows the same way as the modules. in this example, I’ve added a background gradient to the section and selected a pattern. We’ll go through all these settings in future posts.

Ending Thoughts
That’s my quick and simple look at how to use the Divi Builder. There are a lot of settings I didn’t cover, but I wanted to start with the basics. From here, you can play around with the sections, rows, modules, and settings to create your own layouts. You can also use these same settings to customize premade layouts.
For more information about using premade layouts, see the article Getting Started with Divi: Use a Divi Layout.
I’d like to hear from you. Have you used the Divi Builder? Let me know what you think about it in the comments.

Leave a Reply